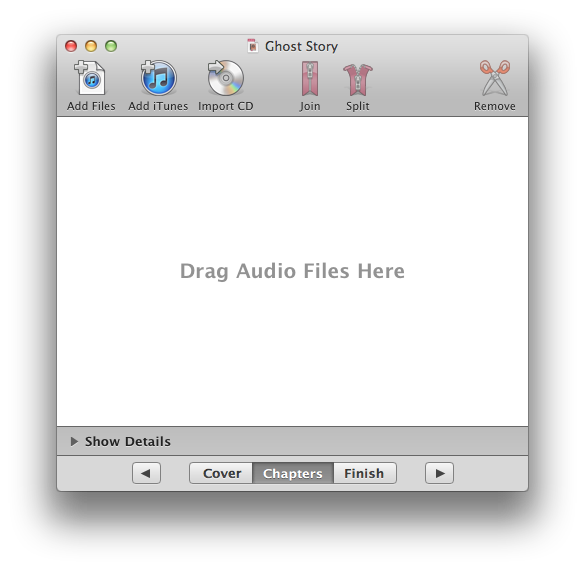
Today there are a collection of scripts and applications that make creating an audiobook a breeze. My favorite for the task is an application called Audiobook Builder.
You can try Audiobook Builder (ABB) for free by downloading it from the Splasm web site but if you want to buy it, I recommend you save yourself $4 and buy it from the Mac Store.
Building an audiobook with ABB is easy. Just launch the application and select "Create a New Project". On the panel that pops up, enter in the name and author of the book and drag in a JPEG of the cover art.
If you want to add more detail just click the "more" button and go wild.
Once the preliminaries are out of the way it's time to start ripping the CDs. On the main screen select "Chapters." You can see that there are several ways to add files. You can use the buttons at the top. Drag files to the drop zone or import from CD. I'm going to assume that you want to build an audiobook from CDs.
Just insert your first CD and select import as a single file. You can play with the quality of the recording but the "normal" setting works fine and the file size isn't too large. For really long books that don't contain any music or other sound effects you could lower the quality. Conversely if you want to bring out the high's and low's of narrators voice you can bump the quality up.
After the first disk is done you will be presented a screen asking for the next CD. Just keep feeding the disks until you are done. One of the cool features of Audiobook Builder is the ability to stop importing, quit the application and resume the build later. All your data is saved in an intermediary Audiobook Builder file. You don't create your iTunes Audiobook until you select the "finish" button after all your disks have been imported.
When you are done importing all your disks your screen may look something like this:
Since we have created one file per CD, Audiobook Builder uses the CD name for each chapter. That makes importing easier but the iTunes CD database may contain different names for each CD. Just remember that the names of the chapters will show up in your iTunes Audiobook as the file name.
Kind of ugly isn't it? The order of the books is correct and it will play just fine but I think it's ugly and annoying. Maybe it's my OCD nature, but I think it's better to rename the chapters so it's a bit more organized. Before you build your audiobook clean up the name of each chapter so it is easy to tell the order of the book. Just double click each chapter and rename it. I like to use the name of the book and "1 of 15" and increment up to "15 of 15." Nice and tidy.
Now that things are cleaned up it's time to build the audiobook. Select the "Finish" button and the "Build Options" button in the upper right under the artwork.
At this point you can change the audio quality if you want to. If you're happy with your original setting just use the "Pass through" check box. The M4B setting allows you the ability to bookmark your audio files. Unlike music you want to be able to start where you left off so make sure you select M4B. You can also size the chapter to any length you want but because we went to all that trouble of creating one CD per chapter just use the per chapter part style setting. Once you have all your settings the way you want them click OK and then build your audiobook.
That's it! When the build is complete Audiobook Builder will automatically add the files to iTunes and store the output files to the destination you selected.
I'm a miser at heart but for $6 you can have a full featured way to build your audiobooks that makes life a lot easier. I highly recommend it.


No comments:
Post a Comment